Masoor Dal Chilla – Delicious Red Lentil Pancakes
Masoor Dal Chilla | Savory Red Lentil Pancakes are more than just a meal; they are a warm embrace in pancake form, a delightful dance of flavors and textures that has captured the hearts of many for good reason. Imagin extracte a golden-brown disc, slightly crisp around the edges, yielding to a tender, flavorful interior, all crafted from humble red lentils. This isn’t your average sweet breakfast; these Masoor Dal Chilla are a testament to the incredible versatility of everyday ingredients, transformed into something truly special. What makes this dish so beloved? It’s the perfect balance of healthy and satisfying, the subtle earthiness of the lentils elevated by fragrant spices, and the sheer joy of dipping a warm piece into your favorite chutney or yogurt. They are incredibly adaptable, making them a favorite for quick weeknight dinners or a wholesome brunch option. Get ready to fall in love with this incredibly delicious and satisfying Masoor Dal Chilla!
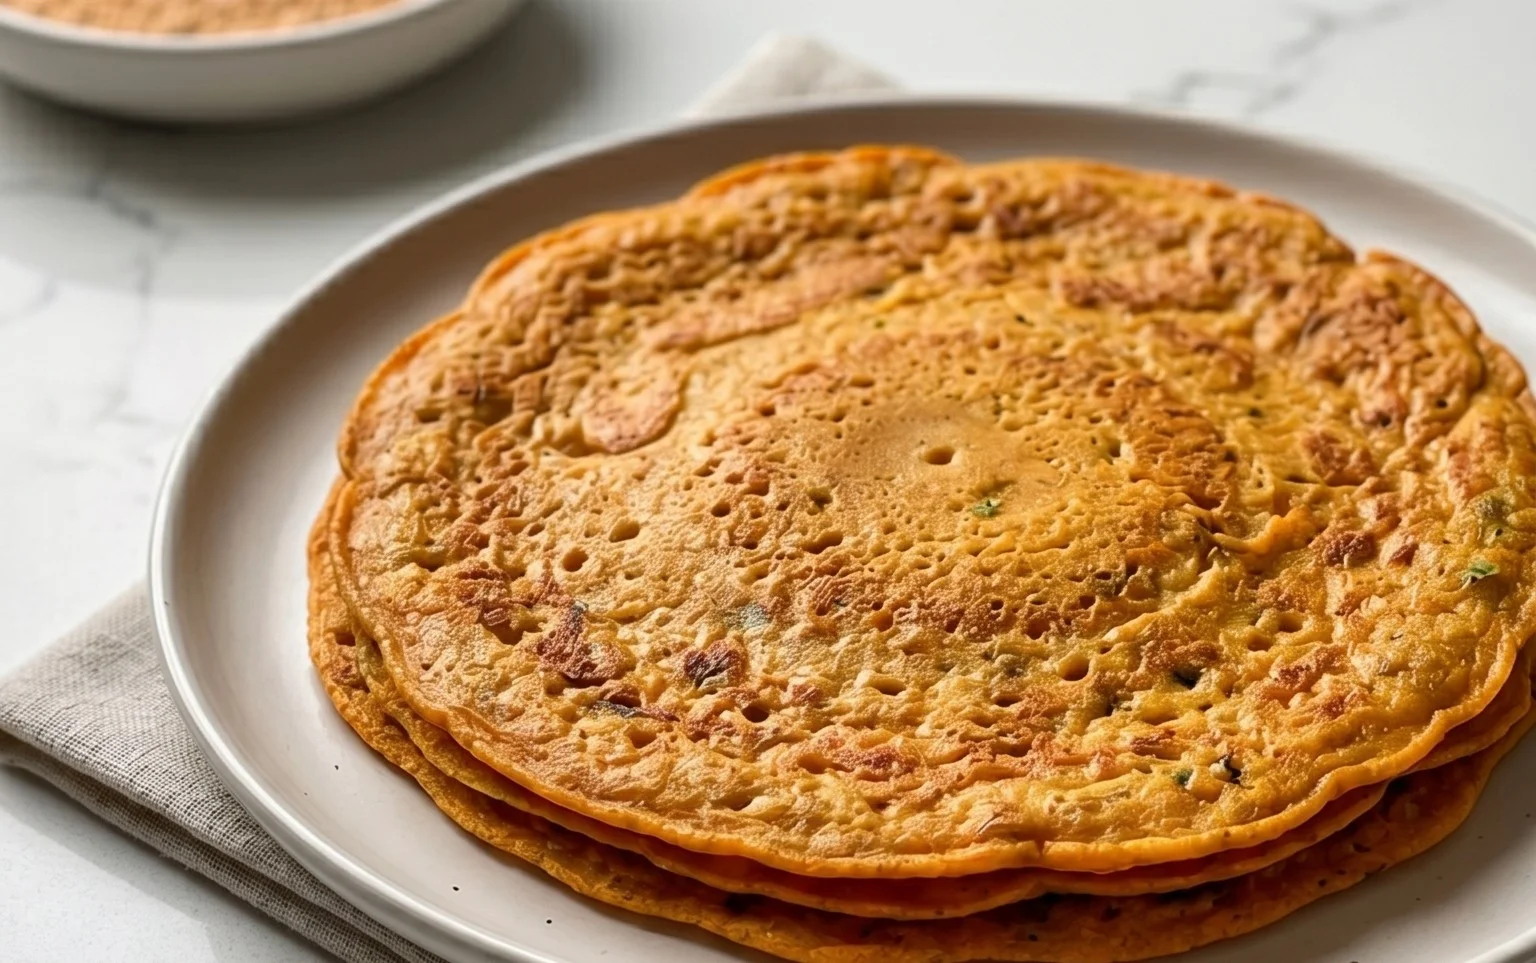
Masoor Dal Chilla | Savory Red Lentil Pancakes
Masoor Dal Chilla, or savory red lentil pancakes, are a delightful and incredibly healthy dish that’s a staple in many Indian households. They’re naturally gluten-free, packed with protein, and surprisingly easy to make. I love these chillas because they’re so versatile – perfect for a quick breakfast, a light lunch, or even a satisfying snack. The subtle earthiness of the red lentils, combined with the zing of gin extractger and the hint of spice from the green chili, creates a flavor profile that’s both comforting and invigorating. Plus, they cook up beautifully golden brown, making them as appealing to the eyes as they are to the palate.
The beauty of this recipe lies in its simplicity and the wholesome ingredients. It’s a fantastic way to incorporate more plant-based protein into your diet, and the texture is wonderfully soft yet holds together perfectly. Let’s get started on creating these delicious savory pancakes!
Ingredients:
Cooking Instructions
Here’s how to bring these delicious Masoor Dal Chillas to life:
1. Preparing the Lentils
The first and most crucial step is to properly prepare the red lentils. Take your 1 cup of split red lentils and rinse them thoroughly under cold running water. You’ll want to do this at least 3-4 times, or until the water runs clear. This washing process removes any dust or impurities. After rinsing, transfer the lentils to a medium-sized bowl and add 3 cups of water. Let them soak for at least 2 to 3 hours. This soaking period is essential as it softens the lentils, making them easier to grind into a smooth batter and also helps in easier digestion. If you’re in a hurry, you can soak them in warm water for about 1 hour, but longer soaking is generally preferred for the best texture.
2. Grinding the Batter
Once the lentils have soaked and are soft, drain all the soaking water completely. You want to remove as much water as possible. Now, transfer the soaked lentils into a blender or a food processor. To this, add the green chilli (you can adjust the quantity based on your spice preference – I usually use one medium-sized green chilli, seeds removed if I want it milder) and the 1-inch piece of gin extractger (peeled and roughly chopped). Add the 1 teaspoon of kosher salt. Now, add ½ cup of water to help with the grinding process. Start by blending on a low speed, then gradually increase. You’re aiming for a smooth, thick batter, similar in consistency to pancake batter. It shouldn’t be too watery, as that will make the chillas difficult to flip. If the batter seems too thick and the blender is struggling, you can add a tablespoon or two more water, but do so sparingly. It’s better to have a slightly thicker batter that you can thin out than a batter that’s too runny. Scrape down the sides of the blender periodically to ensure everything is incorporated. Once you have a smooth consistency, transfer the batter to a mixing bowl.
3. Incorporating the Cilantro
Now it’s time to add some freshness and vibrancy to your batter. Gently fold in the 2 tablespoons of finely chopped cilantro into the lentil batter. The fresh cilantro not only adds a beautiful green fleck to the chillas but also imparts a lovely herby aroma and a refreshing taste that complements the earthy lentils perfectly. Give the batter a good mix to distribute the cilantro evenly. At this stage, you can also do a quick taste test (be mindful of raw lentil taste, though) and adjust the salt if needed, though I find 1 teaspoon usually does the trick. The batter should be thick enough to coat the back of a spoon but still pourable.
4. Cooking the Chillas
Heat a non-stick skillet or a griddle over medium heat. Once the skillet is warm, add about ½ tablespoon of oil and spread it evenly with a spatula or a paper towel. Pour a ladleful of the batter onto the hot skillet. Immediately using the back of the ladle, gently spread the batter in a circular motion to form a pancake, about 6-7 inches in diameter. Don’t make it too thick, or it will take longer to cook through. Aim for a consistent thickness for even cooking. Drizzle a little more oil around the edges of the chilla and a drop or two on top.
5. Flipping and Finishing
Cook the chilla for about 2-3 minutes on the first side. You’ll notice the edges starting to look cooked and slightly golden brown, and tiny bubbles might appear on the surface. This is your cue to carefully flip it. Use a thin spatula to gently lift the edge and flip the chilla. Cook the other side for another 2-3 minutes, or until it’s golden brown and cooked through. You can press down gently with the spatula to ensure even browning. Once cooked, slide the chilla onto a plate. Repeat the process with the remaining batter, adding a little oil to the skillet before each chilla. You can stack the cooked chillas on a plate, and they stay warm for a good while.
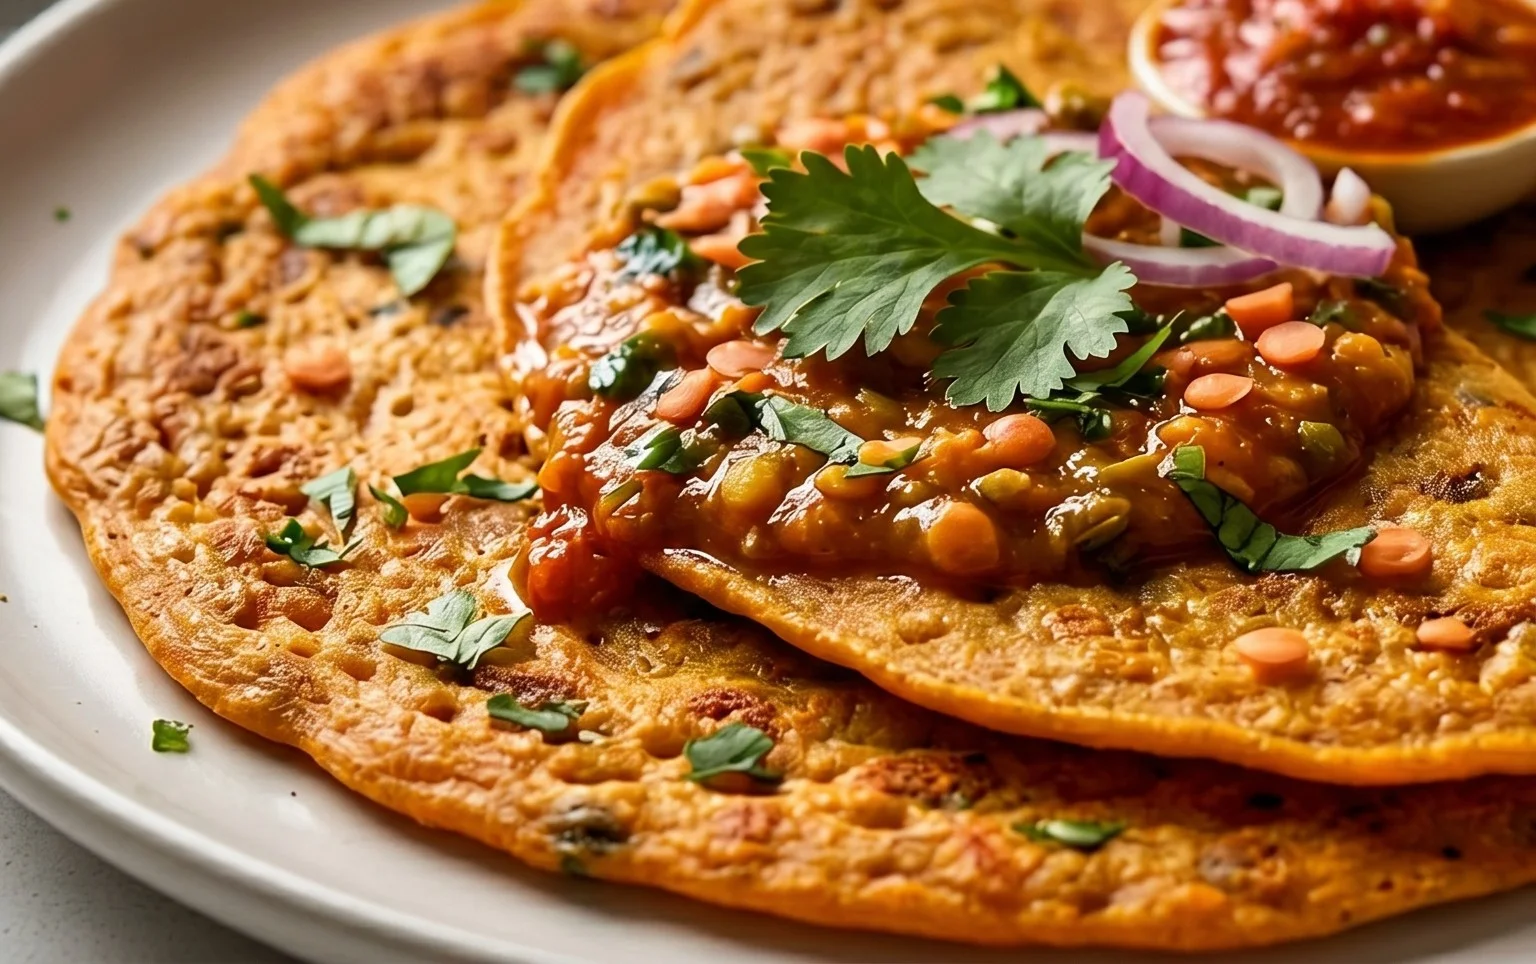
Serve your hot Masoor Dal Chillas immediately with your favorite accompaniments. They are absolutely delicious on their own, but I love serving them with a side of tangy tamarind chutney, a cooling mint-yogurt dip, or even just a dollop of plain yogurt. You can also serve them with some pickled onions for an extra punch of flavor. Enjoy your healthy and flavorful creation!
Conclusion:
I hope you’re as excited as I am to try these delicious Masoor Dal Chilla | Savory Red Lentil Pancakes! This recipe is a true winner because it’s incredibly nutritious, packed with protein from the red lentils, and surprisingly easy to make. It’s a fantastic way to enjoy a wholesome and flavorful meal that’s both satisfying and healthy. Whether you’re looking for a quick breakfast, a light lunch, or a healthy snack, these savory pancakes are sure to hit the spot. I encourage you to give them a go – you won’t regret it!
These chillas are wonderfully versatile. Serve them warm with a dollop of cooling yogurt, a spicy green chutney, or even a side of sautéed vegetables for a complete meal. For a bit of a twist, you can add finely chopped onions, tomatoes, cilantro, or even a pinch of your favorite spices directly into the batter before cooking. Don’t be afraid to experiment and make them your own!
Frequently Asked Questions:
Q1: Can I make the batter ahead of time?
Yes, you absolutely can! The Masoor Dal Chilla batter can be stored in an airtight container in the refrigerator for up to 2-3 days. This makes them perfect for meal prepping on busy mornings. You might need to add a tablespoon or two of water when you take it out to get the perfect consistency again, as it can thicken a bit.
Q2: What’s the best way to ensure my chillas don’t stick to the pan?
A well-seasoned non-stick pan or a lightly greased cast-iron skillet works best. Make sure your pan is heated to medium heat before you pour the batter. A little bit of oil or ghee spread evenly on the pan before each chilla will ensure they flip beautifully and cook to a perfect golden brown without any sticking issues.
Masoor Dal Chilla | Savory Red Lentil Pancakes
Delicious and healthy savory pancakes made from red lentils, spiced with green chili and ginger.
Ingredients
-
1 cup split red lentils (masoor dal)
-
3 cups water (for soaking lentils)
-
1 green chilli
-
1 inch ginger
-
1 teaspoon kosher salt
-
½ cup water (for grinding)
-
2 tablespoons cilantro (finely chopped)
-
2 tablespoons oil
Instructions
-
Step 1
Rinse the masoor dal thoroughly. Soak the dal in 3 cups of water for at least 2-3 hours, or until softened. -
Step 2
Drain the soaked dal completely. Add the drained dal to a blender along with the green chili, ginger, kosher salt, and ½ cup of water for grinding. -
Step 3
Grind to a smooth batter, similar in consistency to dosa batter. If needed, add a tablespoon more water at a time to achieve the desired consistency. -
Step 4
Stir in the finely chopped cilantro into the batter. -
Step 5
Heat 1 tablespoon of oil in a non-stick skillet or tawa over medium heat. Pour a ladleful of batter onto the hot skillet and spread it into a thin, round pancake. -
Step 6
Cook for 2-3 minutes until the bottom is golden brown and slightly crisp. Flip the chilla and cook the other side for another 2-3 minutes. -
Step 7
Repeat with the remaining batter, adding more oil as needed for each chilla. Serve hot.
Important Information
Nutrition Facts (Per Serving)
It is important to consider this information as approximate and not to use it as definitive health advice.
Allergy Information
Please check ingredients for potential allergens and consult a health professional if in doubt.