Best Soft Chocolate Chip Cookies Recipe Easy Guide
The Best Soft Chocolate Chip Cookies are more than just a dessert; they’re a warm hug in cookie form, a nostalgic trip back to childhood, and the ultimate crowd-pleaser. Who doesn’t adore biting into a cookie that’s perfectly chewy on the inside with just the slightest crisp around the edges? It’s that delightful contrast in texture, combined with pockets of molten chocolate that burst with flavor, that makes these treats so universally loved. My quest for the ultimate soft chocolate chip cookie has been a delicious journey, filled with countless batches and meticulous tweaks. What sets The Best Soft Chocolate Chip Cookies apart is a carefully balanced ratio of ingredients and a secret technique that ensures that irresistible gooey center every single time. Get ready to experience cookie perfection!
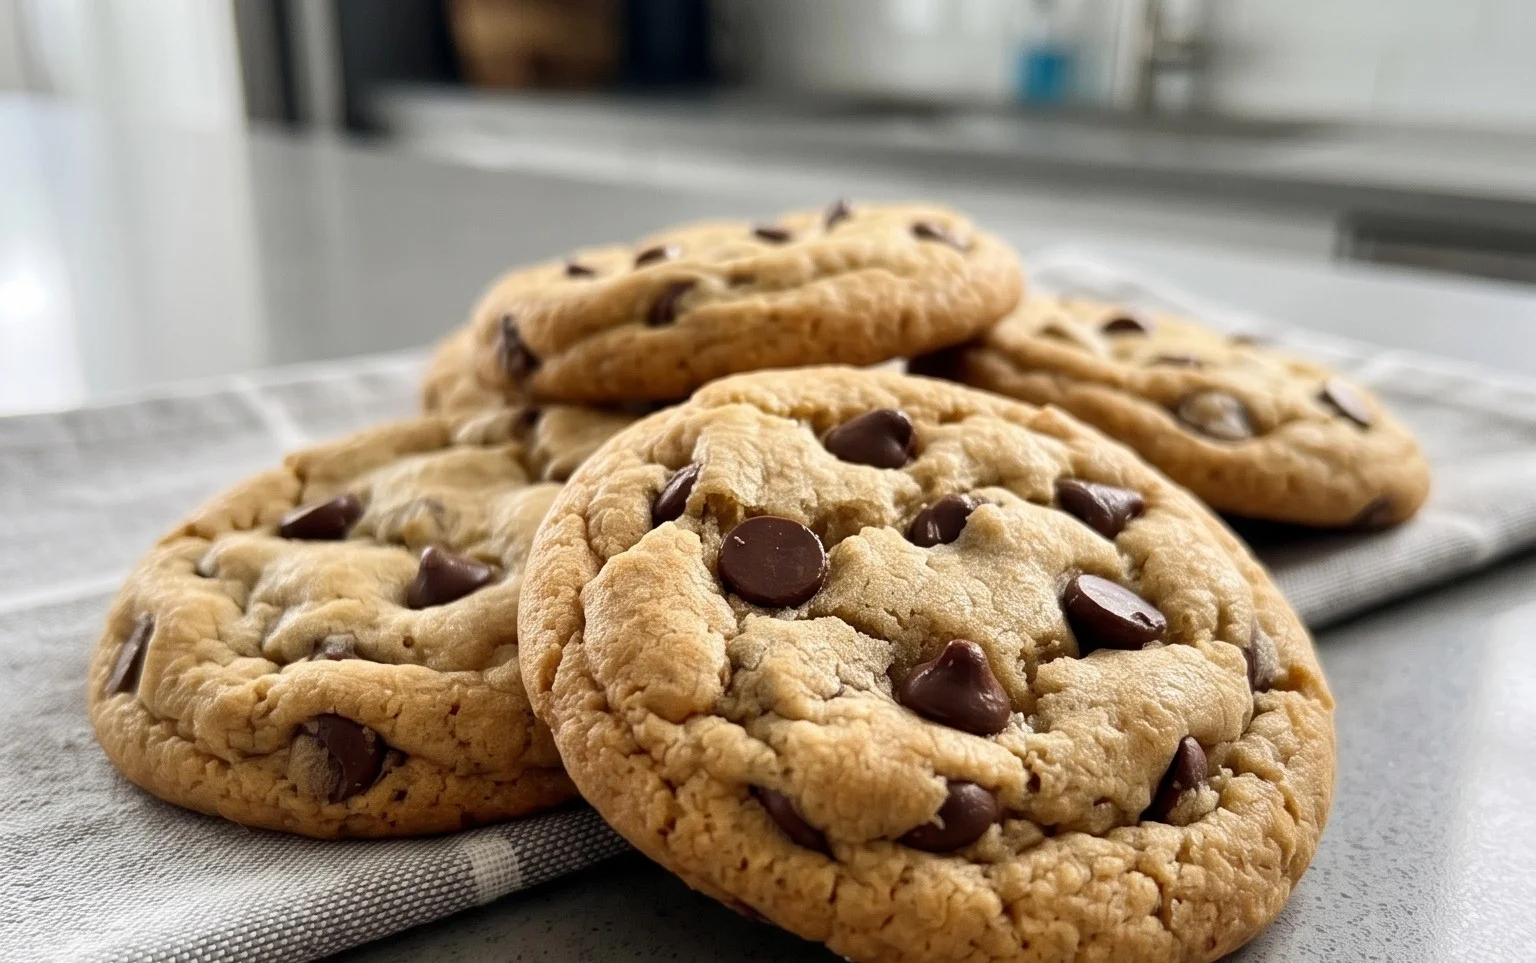
The Best Soft Chocolate Chip Cookies
There are many chocolate chip cookie recipes out there, but if you’re searching for that perfect balance of chewy, soft, and deeply chocolatey, you’ve found it. This recipe is my absolute go-to, the one I make for holidays, potlucks, or just because the craving hits. The secret lies in the specific ingredient ratios and a few crucial steps that ensure a melt-in-your-mouth experience every single time. Forget those dry, crum extractbly cookies that seem to disappear in a puff of dust. We’re talking about cookies with a slight crisp on the edges, a wonderfully soft and gooey center, and generous pockets of melted chocolate that make every bite pure bliss. I’ve spent years perfecting this recipe, tweaking it here and there, and I’m confident that once you try it, it will become your favorite too.
Ingredients:
Cooking Instructions
The magic of truly great chocolate chip cookies happens in the mixing and baking process. Follow these steps carefully, and you’ll be rewarded with a batch of cookies that will disappear in minutes.
1. Creaming the Butter and Sugars
Start by ensuring your butter is at room temperature. It should be soft enough to indent with your finger but not so soft that it’s melting. In a large mixing bowl, cream together the softened salted butter, white sugar (I prefer raw cane sugar for its delightful texture, but any granulated white sugar will work), and packed light brown sugar. You can do this with an electric mixer on medium speed or by hand with a sturdy whisk or spatula. Creaming is essential because it incorporates air into the mixture, which contributes to the cookie’s texture and rise. Continue mixing until the butter and sugars are light in color and fluffy, which usually takes about 2-3 minutes with a mixer. This step is crucial for achieving that soft, chewy interior.
2. Adding the Wet Ingredients
Once your butter and sugar mixture is perfectly creamed, it’s time to add the wet ingredients. Beat in the vanilla extract and then add the egg. Mix on low speed until just combined. Be careful not to overmix at this stage; overmixing can develop the gluten in the flour too much, leading to tougher cookies. Scrape down the sides of the bowl to ensure everything is incorporated evenly. The mixture might look a little curdled at this point, but don’t worry, that’s perfectly normal.
3. Combining the Dry Ingredients
In a separate medium bowl, whisk together the all-purpose flour, baking soda, and salt. I always add a little extra pinch of salt because I find it really enhances the sweetness and the chocolate flavor. Whisking the dry ingredients together ensures that the leavening agent (baking soda) and salt are evenly distributed throughout the flour, preventing pockets of saltiness or uneven rising in your cookies.
4. Gently Incorporating the Flour Mixture and Chocolate
Now, gradually add the dry ingredients to the wet ingredients. Mix on low speed or stir with a spatula until just combined. Again, do not overmix. Stop mixing as soon as you no longer see streaks of flour. The dough should be thick and slightly sticky. Finally, gently fold in your chocolate chips and chocolate chunks. I like to use a mix for a variety of textures and meltiness. Reserve a small handful of chocolate chips to press onto the tops of your cookies before baking for an extra appealing look and bonus chocolatey goodness.
5. Chilling and Baking for Optimal Texture
This is arguably the most important step for achieving truly soft cookies. Cover the bowl with plastic wrap and refrigerate the dough for at least 30 minutes, or preferably for 1-2 hours. Chilling the dough allows the flour to hydrate fully and the fats to firm up. This prevents the cookies from spreading too much in the oven and results in a thicker, chewier cookie. Preheat your oven to 375°F (190°C). Line baking sheets with parchment paper. Scoop rounded tablespoons of dough onto the prepared baking sheets, leaving about 2 inches of space between each cookie to allow for spreading. If you reserved some chocolate chips, press a few onto the tops of the dough balls now. Bake for 9-12 minutes, or until the edges are lightly golden brown and the centers still look slightly underbaked. They will continue to set up as they cool on the baking sheet.
6. Cooling for Perfection
Once baked, let the cookies cool on the baking sheet for 5-10 minutes before transferring them to a wire rack to cool completely. This resting period is crucial for allowing the cookies to firm up and achieve that perfect soft, chewy texture. Resist the urge to eat them straight off the baking sheet – I know it’s hard! The warmth will make them too fragile. Once fully cooled, you’ll have the most incredibly delicious, soft chocolate chip cookies. Enjoy them with a glass of milk or your favorite beverage!
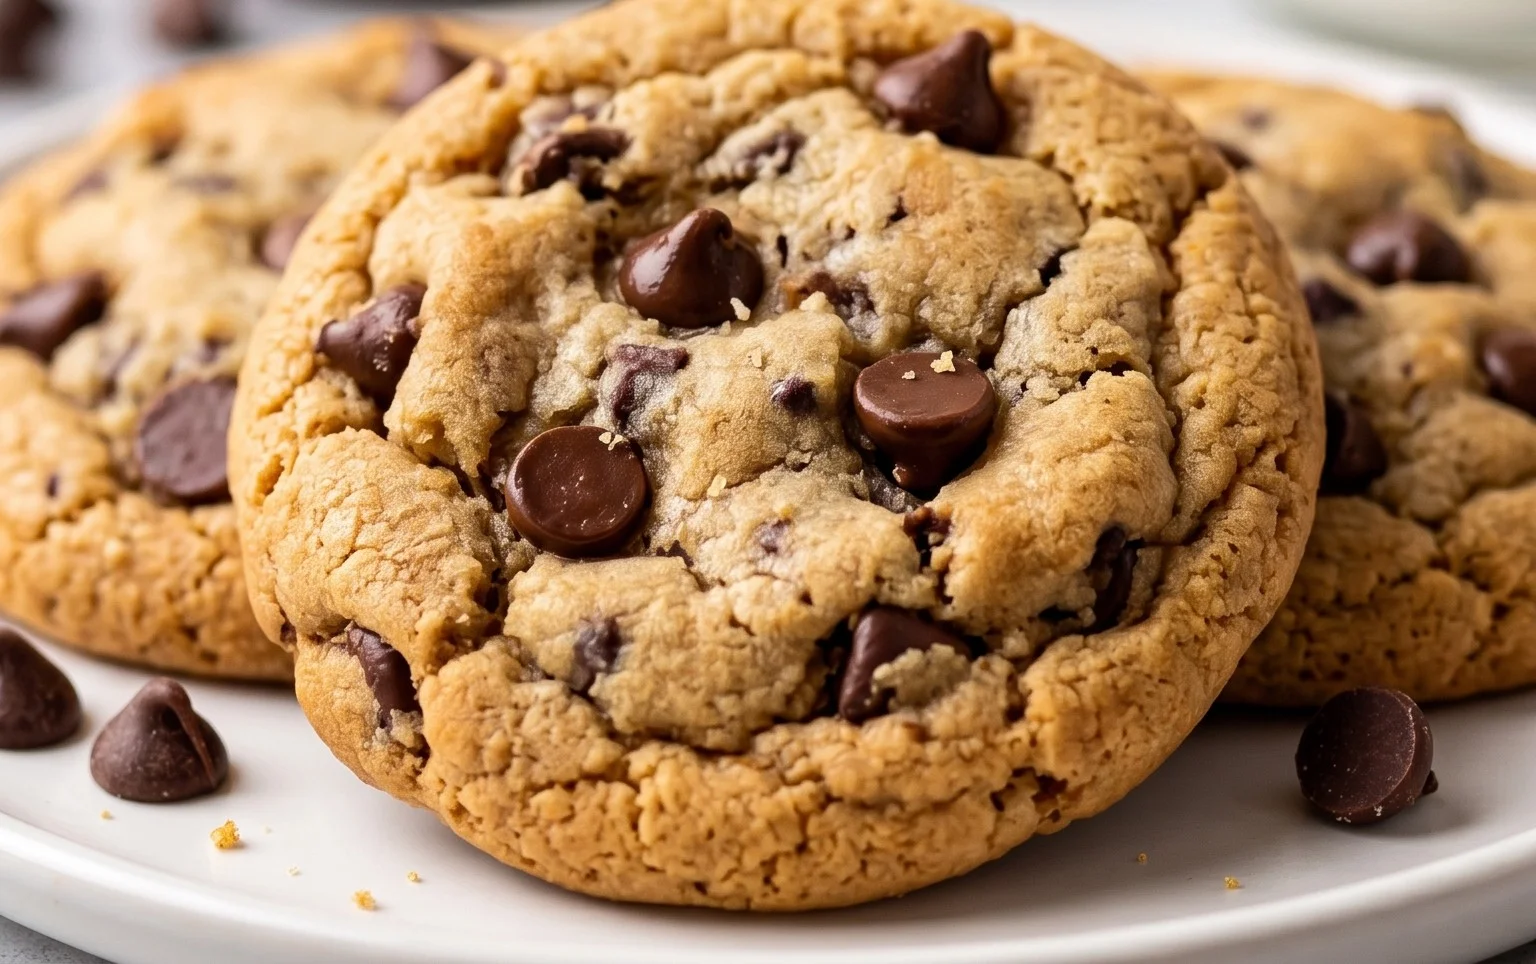
Conclusion:
I truly believe these are the best soft chocolate chip cookies you’ll ever make. The magic lies in the perfect balance of ingredients, the gentle baking time, and that little secret ingredient that ensures an incredibly tender, chewy center with slightly crisp edges. These cookies aren’t just delicious; they’re an experience. Imagin extracte pulling a warm, gooey cookie from the oven, the chocolate chips still molten, ready to be savored with a cold glass of milk. They’re perfect on their own, of course, but they also elevate any occasion. Serve them warm for an instant crowd-pleaser at parties, bake a batch for a comforting afternoon treat, or package them up as homemade gifts that are always appreciated.
Feeling adventurous? Don’t hesitate to experiment with variations! Try adding a sprinkle of sea salt on top before baking for a delightful sweet and salty contrast, or stir in a handful of chopped nuts like walnuts or pecans for added texture. You could even swap out some of the chocolate chips for white chocolate or butterscotch. The possibilities are endless, and each variation promises to be just as delightful. I encourage you to give this recipe a try; I’m confident you’ll fall in love with these soft, decadent chocolate chip cookies just as much as I have. Happy baking!
FAQs:
Why are my cookies not soft?
Ensure you’re not over-baking them. Cookies continue to bake slightly after they’re removed from the oven. They should look slightly underdone in the center when you take them out. Also, make sure you’re using the correct butter temperature (softened, not melted) and that your baking soda is fresh.
Can I make these cookies ahead of time?
Absolutely! You can store baked and cooled cookies in an airtight container at room temperature for up to 3-4 days. For that “just baked” freshness, you can gently reheat them in a low oven (around 300°F or 150°C) for a few minutes.
The Best Soft Chocolate Chip Cookies
These are truly the best soft chocolate chip cookies, with a perfect balance of chewy center and slightly crisp edges. Using raw cane sugar adds a delightful texture.
Ingredients
-
8 tablespoons salted butter, softened
-
1/2 cup white sugar
-
1/4 cup packed light brown sugar
-
1 teaspoon vanilla extract
-
1 large egg
-
1 1/2 cups all purpose flour
-
1/2 teaspoon baking soda
-
1/4 teaspoon salt
-
3/4 cup chocolate chips
Instructions
-
Step 1
Preheat your oven to 375 degrees F (190 degrees C). Line baking sheets with parchment paper. -
Step 2
In a large bowl, cream together the softened salted butter, white sugar, and packed light brown sugar until light and fluffy. -
Step 3
Beat in the vanilla extract and the egg until well combined. -
Step 4
In a separate medium bowl, whisk together the all purpose flour, baking soda, and salt. -
Step 5
Gradually add the dry ingredients to the wet ingredients, mixing until just combined. Do not overmix. -
Step 6
Stir in the chocolate chips. -
Step 7
Drop rounded tablespoons of dough onto the prepared baking sheets, about 2 inches apart. -
Step 8
Bake for 9 to 11 minutes, or until the edges are golden brown and the centers are still slightly soft. -
Step 9
Let the cookies cool on the baking sheets for a few minutes before transferring them to a wire rack to cool completely.
Important Information
Nutrition Facts (Per Serving)
It is important to consider this information as approximate and not to use it as definitive health advice.
Allergy Information
Please check ingredients for potential allergens and consult a health professional if in doubt.