Easy Homemade Fruit Leather Recipe – Delicious Snack
Homemade fruit leather is more than just a sweet treat; it’s a burst of pure, unadulterated fruit flavor captured in a chewy, vibrant strip. There’s something incredibly satisfying about transforming ripe, seasonal fruits into these delightful snacks. Parents love homemade fruit leather because it’s a fantastic way to get picky eaters to consume more fruit, knowing exactly what goes into it – no artificial colors or preservatives here! For us adults, it’s a nostalgic journey back to childhood, a simple pleasure that brings a smile to our faces. What truly makes this homemade fruit leather so special is the incredible versatility. Whether you’re craving the tangy sweetness of berries, the tropical zest of mangoes, or the comforting flavor of apples, you can create your own perfect blend. It’s a budget-friendly alternative to store-bought options and incredibly rewarding to make from scratch.
Homemade Fruit Leather Recipe
There’s something incredibly satisfying about making your own fruit leather. It’s a simple process that transforms fresh fruit into a chewy, tangy, and sweet treat that’s perfect for lunches, snacks, or even a healthier dessert option. Forget those store-bought versions loaded with artificial flavors and colors; this homemade fruit leather is bursting with pure, natural fruit flavor. Plus, it’s a fantastic way to use up a bounty of ripe fruit. I love how adaptable this recipe is – you can use almost any fruit you have on hand, from berries and stone fruits to apples and pears. This recipe provides a basic framework, and I’ll guide you through each step to ensure you achieve perfect fruit leather every time. It’s a project the whole family can enjoy, and the end result is a delightful treat that’s far more wholesome than most candies. Let’s get started on creating this delicious and vibrant snack!
Ingredients:
Preparing Your Fruit
The first crucial step in making fantastic fruit leather is to prepare your fruit. For this recipe, you’ll need 2 cups of chopped fruit. The type of fruit you choose will significantly impact the flavor and texture of your final fruit leather. Berries like strawberries and raspberries are wonderfully vibrant and naturally sweet, though they can be a bit seedy. If you’re using larger fruits like peaches, mangoes, or plums, make sure to remove any pits or large seeds and chop them into manageable pieces. Apples and pears are also excellent choices and often benefit from a bit more sugar. If you’re using a mix of fruits, consider how their flavors will complement each other. For example, strawberries and peaches make a delightful combination. I often find myself using whatever is in season or on snon-alcoholic ale. Once your fruit is chopped, you’ll want to ensure it’s soft enough to blend into a smooth puree. If you’re using firmer fruits like apples, you might want to steam or simmer them for a few minutes until they’re tender before proceeding.
Blending for Smoothness
Once your fruit is prepped and ready, it’s time to create the base for your fruit leather. This involves blending the fruit into a smooth puree. You can use a blender or a food processor for this task. The key here is to achieve a consistency that is completely free of large chunks. A smooth puree will result in a more even and pleasant texture in your finished fruit leather. Add your chopped fruit to the blender or food processor. Now, it’s time to add the sweetness and a touch of acidity. Add the 3 tablespoons of white sugar. The amount of sugar can be adjusted. If your fruit is exceptionally sweet, you might want to start with less sugar and taste the puree before baking. Conversely, if your fruit is a bit tart, you might add a little more. Next, add the juice of half a lemon. Lemon juice not only adds a lovely brightness and tang that balances the sweetness but also helps to preserve the fruit’s vibrant color. Blend everything together until you have a silky-smooth mixture. It should be thick but pourable. If it seems too thick, you can add a tablespoon or two of water to help it blend, but be careful not to make it too thin, as this will increase drying time.
Baking Your Fruit Leather
Now for the magic! We’re going to gently bake our fruit puree to evaporate the moisture and create that chewy fruit leather texture. Preheat your oven to the lowest temperature setting it has, typically around 170-200°F (75-95°C). A low and slow cooking process is essential to prevent the fruit leather from burning or becoming brittle. Line a baking sheet with parchment paper. It’s important to use parchment paper as it prevents sticking and allows for easy removal of the fruit leather once it’s done. Pour the fruit puree onto the prepared baking sheet. Using a spatula, spread the puree into a thin, even layer. Aim for a thickness of about ¼ inch. A consistent thickness is crucial for even drying. Try to get the edges as neat as possible, as this will make cutting and rolling easier later on. Place the baking sheet in the preheated oven.
The Drying Process
This is where patience comes in. The fruit leather needs to dry slowly and evenly. The baking time will vary depending on your oven, the thickness of your fruit layer, and the moisture content of your fruit. It can take anywhere from 4 to 12 hours. You’ll want to check on it periodically, perhaps every hour or two, especially after the first few hours. The fruit leather is ready when it’s no longer sticky to the touch but is still pliable. It should peel away cleanly from the parchment paper. If you touch the surface and your finger sticks, it needs more time. You might notice the edges drying faster than the center; this is normal. If you see any signs of browning or crisping, you might need to lower your oven temperature slightly or cover the edges loosely with aluminum foil. Some ovens have a “warm” setting that can be perfect for this stage. The goal is to dehydrate the fruit, not cook it further.
Cooling and Storing Your Creation
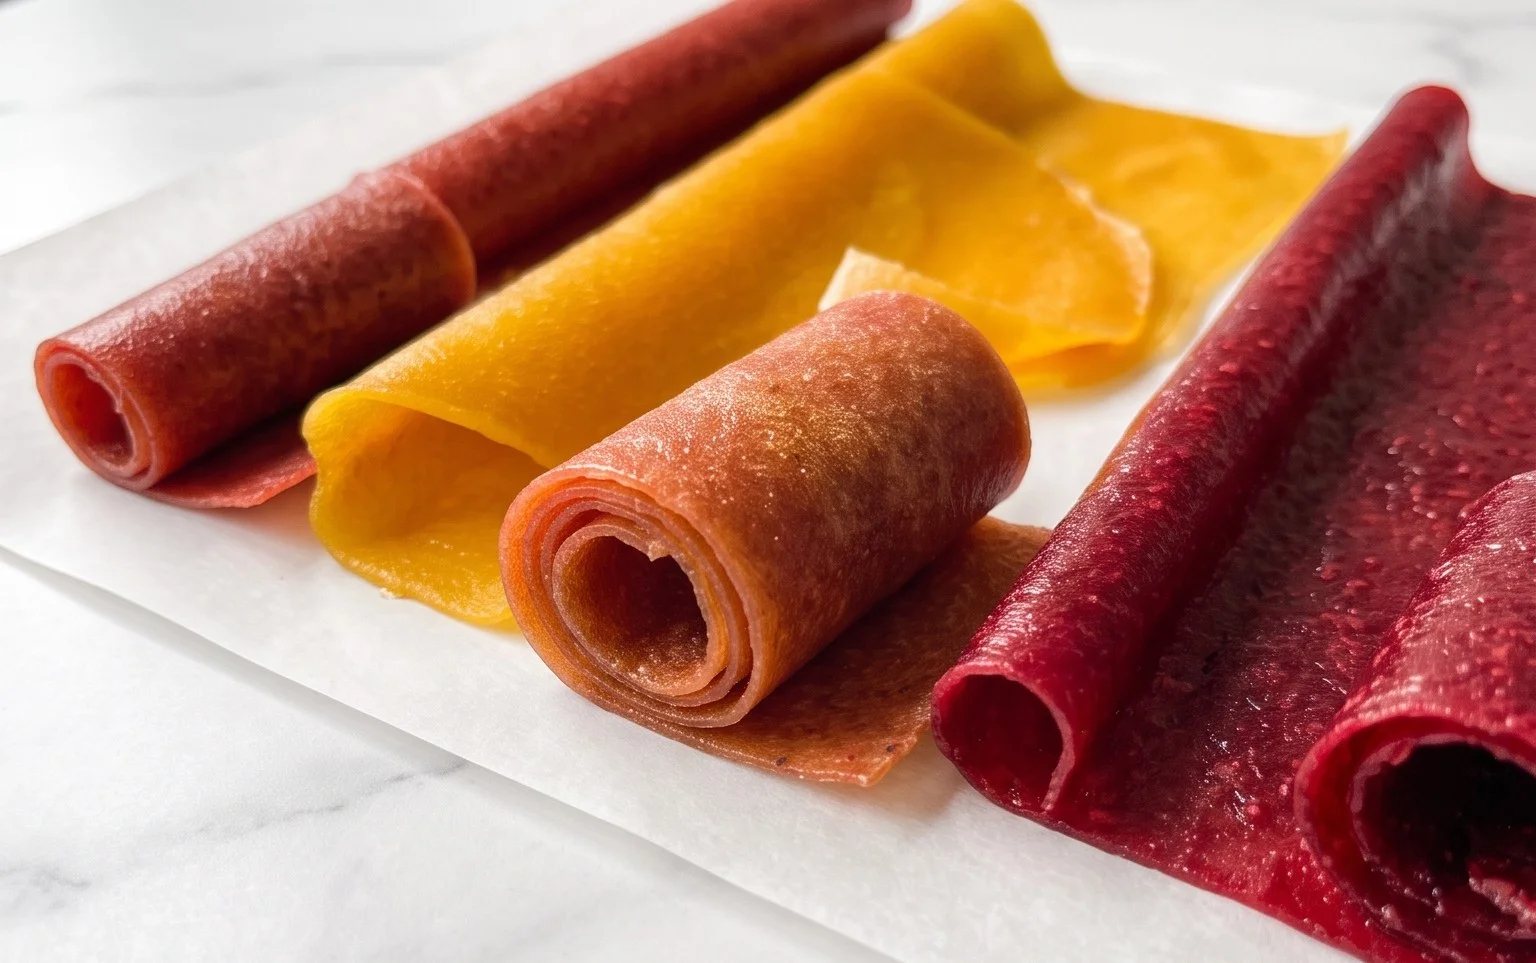
Once your fruit leather has reached the desired texture, carefully remove the baking sheet from the oven. Let the fruit leather cool completely on the baking sheet. This cooling period is important as it allows the leather to firm up further. Once it’s completely cool, you can then carefully peel it off the parchment paper. If it seems to be sticking in any areas, you can gently loosen it with a thin spatula. You can cut the fruit leather into strips or shapes using a pizza cutter or a sharp knife. For easy storage and to prevent sticking, I like to roll up the strips. You can then wrap individual rolls in plastic wrap or place them in an airtight container. Stored properly in a cool, dry place, your homemade fruit leather should last for a couple of weeks. For longer storage, you can also freeze it. Enjoy your delicious, homemade fruit leather!
Conclusion:
Making your own fruit leather at home is a truly rewarding experience, and this recipe makes it delightfully easy! It’s a fantastic way to preserve the vibrant flavors of fresh fruit, transforming them into a chewy, sweet treat that’s far healthier than store-bought alternatives. The simplicity of the process, requiring just a few ingredients and some patience, means almost anyone can master this delightful snack. The homemade fruit leather recipe is perfect for lunchboxes, after-school snacks, or a guilt-free indulgence anytime you need a burst of fruity goodness.
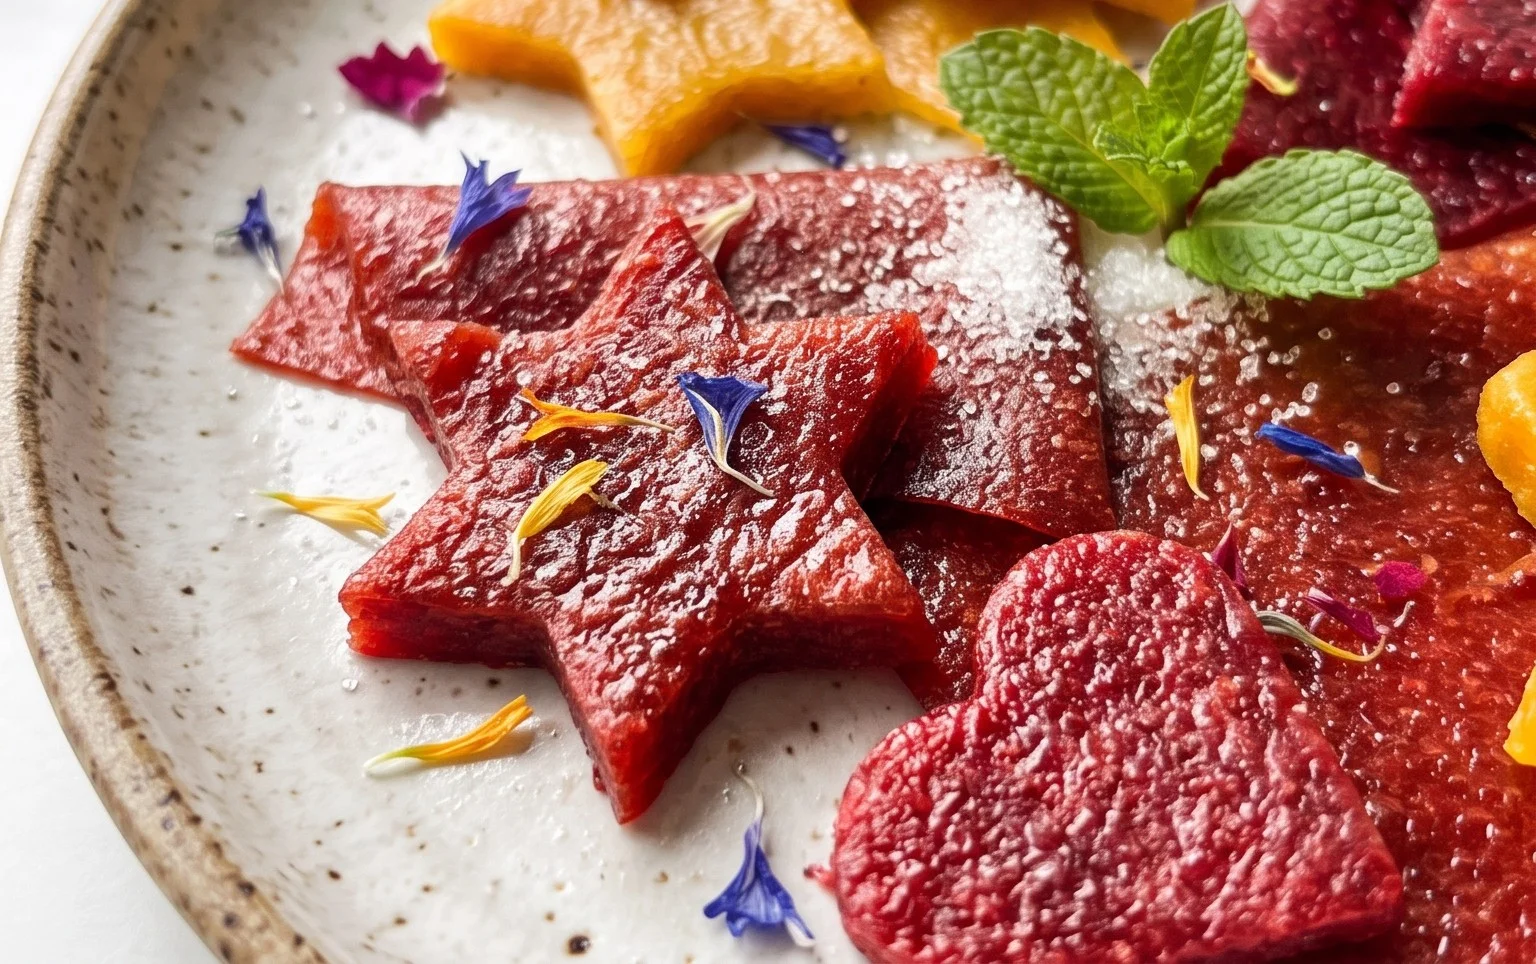
Get creative with your serving suggestions! Slice it into fun shapes for kids, roll it up for a portable snack, or even chop it into small pieces to sprinkle over yogurt or ice cream. Don’t be afraid to experiment with variations too. While berries and apples are a classic starting point, consider tropical fruits like mango and pineapple, or even tart fruits like cherries and plums for a more complex flavor profile. You can also add a hint of cinnamon, gin extractger, or a squeeze of lemon juice for an extra zing. I wholeheartedly encourage you to give this homemade fruit leather recipe a try – you’ll be amazed at how delicious and satisfying it is!
Frequently Asked Questions:
Can I make fruit leather without a dehydrator?
Absolutely! While a dehydrator is convenient, you can easily make fruit leather in your oven. Simply spread the fruit puree thinly on a baking sheet lined with parchment paper and bake at the lowest oven setting (usually around 140-170°F or 60-75°C) for several hours, until the leather is dry and leathery to the touch. You might need to prop the oven door open slightly to allow moisture to escape.
How long does homemade fruit leather last?
When stored properly, your homemade fruit leather can last for several weeks. Ensure it is completely cooled and then wrap it tightly in plastic wrap or store it in an airtight container. Keep it in a cool, dry place, away from direct sunlight. If you notice any signs of mold or stickiness, it’s best to discard it.
Homemade Fruit Leather
A simple and delicious recipe for homemade fruit leather, a healthy and customizable snack.
Ingredients
-
2 cups fruit, chopped
-
3 tbsp white sugar
-
½ whole lemon, just the juice
-
1 teaspoon vanilla extract
-
¼ teaspoon cinnamon
-
1 tablespoon cornstarch
Instructions
-
Step 1
Puree the chopped fruit in a blender or food processor until smooth. -
Step 2
Transfer the fruit puree to a saucepan. Add white sugar, lemon juice, vanilla extract, and cinnamon. Stir well. -
Step 3
Cook over medium heat, stirring constantly, until the mixture thickens, about 10-15 minutes. -
Step 4
In a small bowl, whisk together cornstarch with 2 tablespoons of water to create a slurry. Stir the slurry into the fruit mixture. -
Step 5
Continue to cook, stirring, until the mixture is very thick and coats the back of a spoon, another 5-7 minutes. -
Step 6
Preheat oven to the lowest possible setting (around 170°F/75°C). -
Step 7
Line a baking sheet with parchment paper or a silicone baking mat. Pour the fruit mixture onto the prepared baking sheet and spread it evenly into a thin layer (about ¼ inch thick). -
Step 8
Bake for 2-4 hours, or until the fruit leather is no longer sticky and can be easily peeled from the parchment paper. The exact time will depend on your oven and the thickness of the leather. -
Step 9
Let cool completely on the baking sheet, then cut into strips or desired shapes.
Important Information
Nutrition Facts (Per Serving)
It is important to consider this information as approximate and not to use it as definitive health advice.
Allergy Information
Please check ingredients for potential allergens and consult a health professional if in doubt.