Easy Pickled Red Onions- Quick & Flavorful Recipe
Pickled red onions are an absolute game-changer in my kitchen, and I’m so excited to share this simple recipe with you! There’s just something magical about transforming humble red onions into these vibrant, tangy jewels. They’re not just pretty; they offer an explosion of flavor that elevates everything they touch. Think about it – that perfect bite of a taco, a hearty salad that needs a little zing, or even just a humble grilled cheese. Suddenly, it’s a culinary masterpiece. What makes pickled red onions so incredibly special is their versatility and the delightful contrast they bring. The sharp, slightly sweet tang cuts through richness, adds a pop of color, and introduces a delightful textural crunch. They’re a simple ingredient that punches way above its weight class, proving that sometimes, the simplest things are indeed the most delicious.
Ingredients:
Pickled Red Onions: Your Quick and Easy Flavor Booster
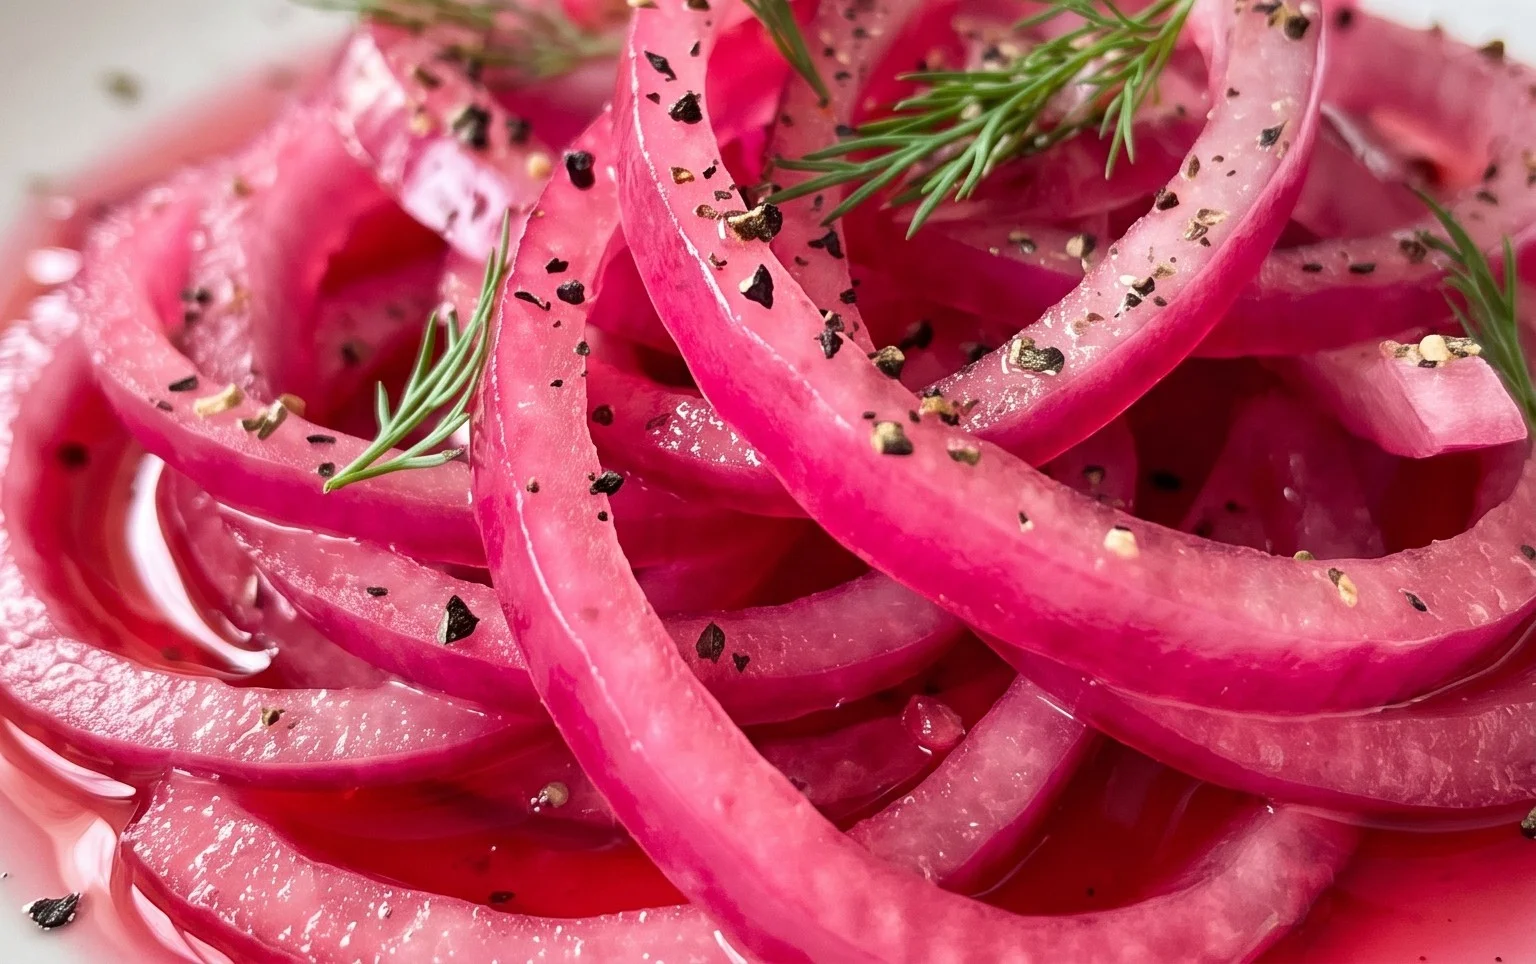
There are few things in the culinary world that can elevate a dish as dramatically and as simply as a jar of vibrant, tangy pickled red onions. They’re the unsung heroes of taco nights, burger feasts, and salad bowls, adding a delightful pop of color and a zesty, slightly sweet counterpoint to almost anything. Forget those store-bought versions that can sometimes be overly sweet or lacking in punch. Making your own pickled red onions at home is surprisingly easy, incredibly satisfying, and allows you to control the flavor perfectly. Within a matter of hours, you can transform humble red onions into a condiment that will have you reaching for it again and again. The beautiful magenta hue they take on during the pickling process is just a bonus, making any meal look more appealing. Let’s dive into how you can create this kitchen staple.
Preparing Your Onions
The first step in creating these beautiful pickled gems is to prepare your red onions. You’ll need about 2 medium red onions, or if you have smaller ones, about 3 will do the trick. The key is to slice them thinly and uniformly. This ensures that they pickle evenly and absorb the brine efficiently. I like to use a mandoline for this if I have one handy, as it gives me perfectly consistent thin slices. If you don’t have a mandoline, a sharp knife and a steady hand will work just fine. You want to aim for slices that are about 1/8 to 1/4 inch thick. After slicing, you’ll want to separate the rings. You can do this by gently pulling them apart with your fingers. Some people like to place the sliced onions in a bowl of ice water for about 10-15 minutes before pickling. This step is optional, but some find it helps to mellow out the onion’s raw bite and makes them a touch crisper. Just be sure to drain them very well after this if you choose to do it.
Crafting the Perfect Brine
Now, let’s talk about the magic that transforms those raw onions into something special: the brine. This is where the flavor really comes to life. In a medium saucepan, we’re going to combine our liquid ingredients and seasonings. You’ll need 1 1/4 cups of water and an equal amount, 1 1/4 cups, of white vinegar. White vinegar is the classic choice for pickling because it has a clean, sharp acidity that cuts through richness and complements the sweetness. For the sweetener, we’ll add 3 tablespoons of sugar. You can use granulated sugar, but feel free to experiment with other types like brown sugar or maple syrup for subtle flavor variations. Just remember that different sugars might affect the final color slightly. Next, we add 1 tablespoon of sea salt. Sea salt has a cleaner flavor profile than regular table salt and dissolves beautifully. If you like a little kick, this is where you’ll add your red pepper flakes. A quarter teaspoon is a good starting point for a mild warmth, but you can increase it to a half teaspoon or even a full teaspoon if you enjoy a spicier pickled onion.
Heating and Combining
Once all your brine ingredients are in the saucepan, it’s time to heat things up. Place the saucepan over medium heat on your stovetop. Stir the mixture occasionally until the sugar and salt have completely dissolved. You don’t need to bring this mixture to a rolling boil; a gentle simmer is perfectly fine. The goal is simply to ensure all the solids are incorporated into the liquid. Once everything is dissolved, remove the saucepan from the heat. Now, you have two main ways to combine your onions with the hot brine. You can either pour the hot brine directly over the onions in a heatproof bowl or jar, or you can add the onions to the saucepan with the brine and let them heat through together for a minute or two. I personally prefer the latter method because I find it helps the onions soften just a touch more from the start. Whichever method you choose, ensure the onions are fully submerged in the brine for even pickling.
The Waiting Game: Patience is a Virtue
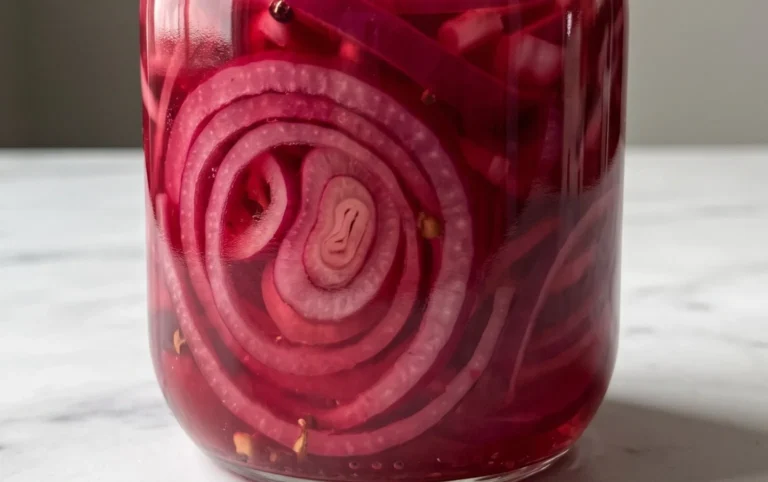
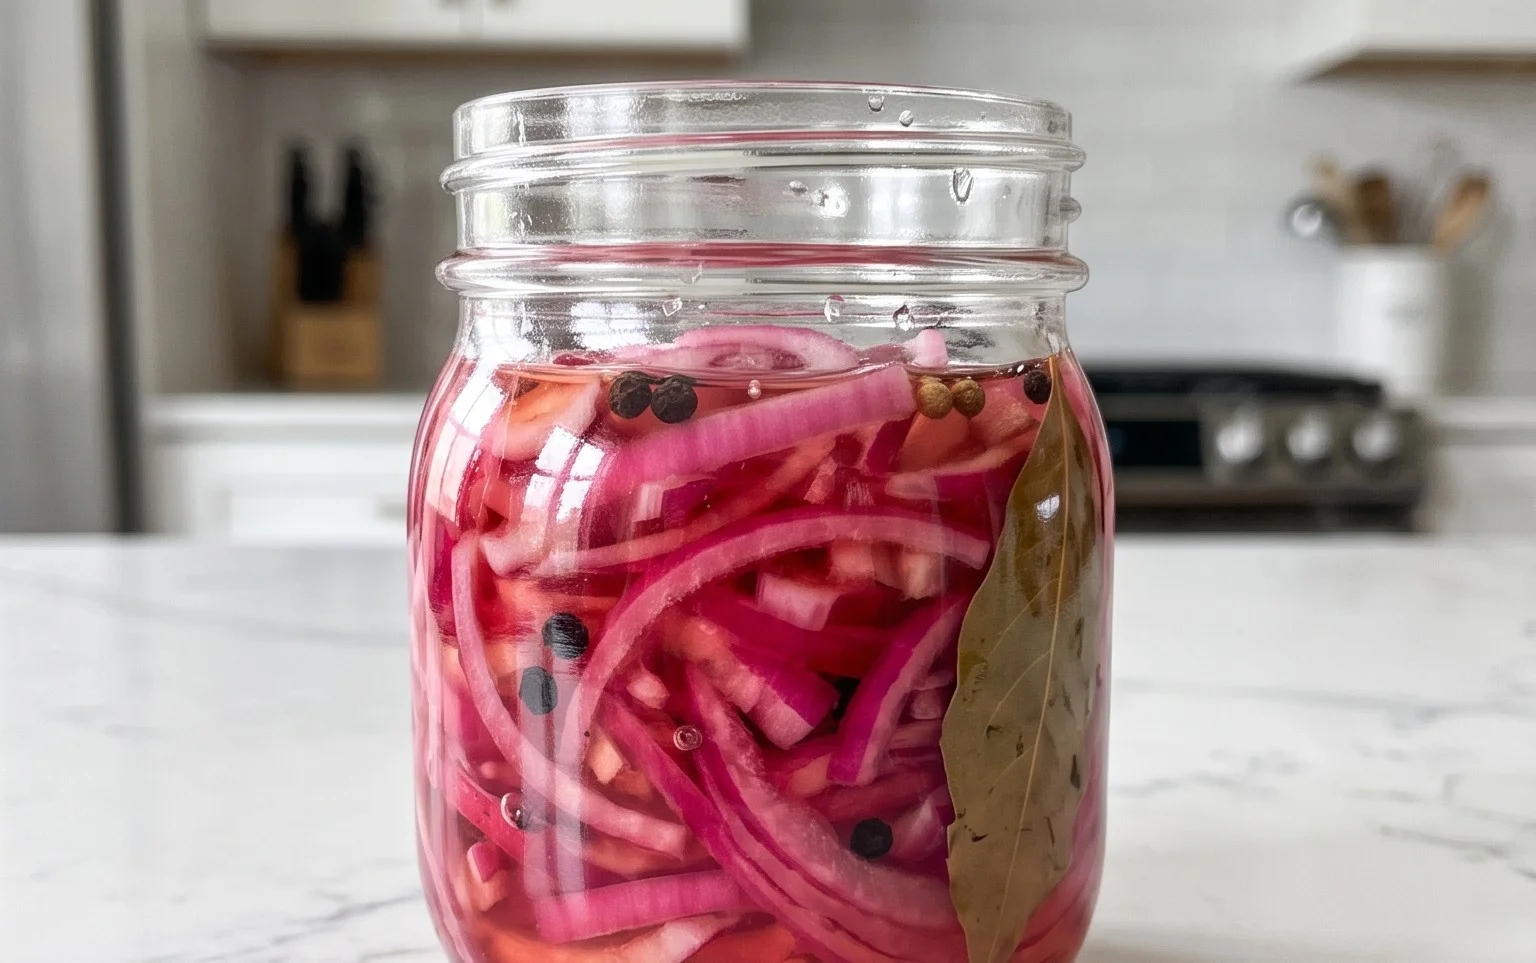
After combining the onions and the brine, the real magic starts to happen, but it requires a little patience. Transfer the mixture into a clean glass jar or a heatproof container. Make sure the jar is large enough to hold the onions and the brine comfortably. If you’re using a jar, let it cool down at room temperature for about 30-60 minutes. As it cools, you’ll notice the onions begin extractning to soften and change color, taking on that gorgeous pinkish-red hue. Once the jar has cooled to room temperature, you can then seal it tightly and place it in the refrigerator. This is where the pickling process really kicks into high gear. While you can technically eat them after an hour or two, the flavor really develops and deepens with time. For the best results, I recommend letting them pickle for at least 4-6 hours, but overnight is even better. The longer they sit, the more intense and well-rounded the flavor will become.
Storing and Enjoying Your Pickled Delights
Once your pickled red onions have reached your desired level of tangin extractess and flavor, they are ready to be enjoyed! They will keep in an airtight container in the refrigerator for at least 2-3 weeks, though I’ve found they can last even longer if stored properly. The brine itself is also delicious, so don’t discard it! You can use it as a base for salad dressings or to add a little zing to other vegetables. These pickled red onions are incredibly versatile. Sprinkle them on avocado toast, top your favorite burgers or hot dogs, add them to tacos and burritos for a burst of acidity, or toss them into a fresh salad for an extra layer of flavor and crunch. They are also fantastic with grilled meats or fish, and can even be a surprising addition to charcuterie boards. Experimentation is key, so don’t be afraid to try them on different dishes. With this simple recipe, you’ve unlocked a world of flavor that is both beautiful and delicious. Enjoy!
Conclusion:
And there you have it! My simple yet incredibly rewarding recipe for quick pickled red onions. This recipe is truly a game-changer for elevating everyday meals. The vibrant pink hue, the delightful crunch, and that perfect balance of tangy and slightly sweet flavor make these pickled red onions an absolute must-have in any kitchen. They are astonishingly versatile and can transform even the most ordinary dishes into something special. I can’t recommend enough that you give this easy recipe a try – I promise you won’t be disappointed!
Think of all the possibilities! Spoon them over tacos, grilled cheese sandwiches, avocado toast, salads, or even alongside roasted meats and hearty stews. They add a fantastic burst of flavor and texture that cuts through richness beautifully. Don’t be afraid to experiment with serving these delicious pickled red onions; their adaptability is one of their strongest points.
Want to switch things up? You can easily adjust the sweetness by adding a pinch more sugar or a touch less. For a little heat, throw in a few chili flakes or a sliced jalapeño into the brine. You could even infuse the brine with a bay leaf or a sprig of thyme for an extra layer of aromatic complexity.
Frequently Asked Questions:
How long do pickled red onions last?
When stored in an airtight container in the refrigerator, my pickled red onions typically last for about 2-3 weeks. The flavor actually tends to deepen and improve over the first few days!
Can I use different types of onions?
While red onions are ideal for their color and milder flavor when pickled, you can experiment with white or yellow onions. However, they won’t develop the same vibrant pink hue. White onions will be a bit sharper, and yellow onions might be slightly sweeter.
What is the best way to slice the red onions?
For the best texture and even pickling, I recommend slicing the red onions thinly, either with a mandoline or a sharp knife. Aim for consistent thickness so they pickle uniformly and offer a pleasant crunch without being too tough.
Quick Pickled Red Onions
A versatile and easy recipe for quick pickled red onions, perfect for adding a tangy crunch to sandwiches, tacos, salads, and more.
Ingredients
-
2 medium red onions ((or 3 small ones))
-
1 1/4 cup water
-
1 1/4 cup white vinegar
-
3 tbsp sugar
-
1 tbsp sea salt
-
1/4-1/2 tsp red pepper flakes
Instructions
-
Step 1
Thinly slice the red onions into rings or half-moons. -
Step 2
In a small saucepan, combine water, white vinegar, sugar, and sea salt. Stir until sugar and salt are dissolved. -
Step 3
Bring the mixture to a simmer over medium heat. Stir in red pepper flakes if using. -
Step 4
Place the sliced onions in a heatproof jar or bowl. -
Step 5
Pour the hot brine over the onions, ensuring they are fully submerged. Press down gently if needed. -
Step 6
Let the onions cool at room temperature for at least 15-30 minutes before serving or transferring to the refrigerator.
Important Information
Nutrition Facts (Per Serving)
It is important to consider this information as approximate and not to use it as definitive health advice.
Allergy Information
Please check ingredients for potential allergens and consult a health professional if in doubt.